Add a New Vendor
Objective: To add a new vendor.
Things to Consider:
- User Permissions.
- Use caution when adding a vendor because you will not be able to change its details after adding it. Users can only add new contacts, locations, warranties and attachments to the vendor.
- Use the Document Library to add attachments to vendors, such as service agreements, manuals and warranties.
- You can add Warranties separately in the Warranty section of the Vendor menu, or directly from a Vendor’s Details.
Steps:
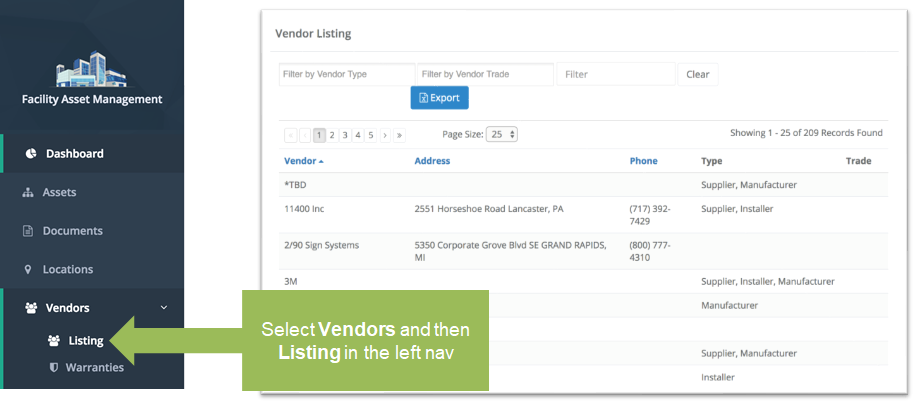
- Click 'Vendors' and then 'Listing' from the left navigation panel to display a list of vendors.
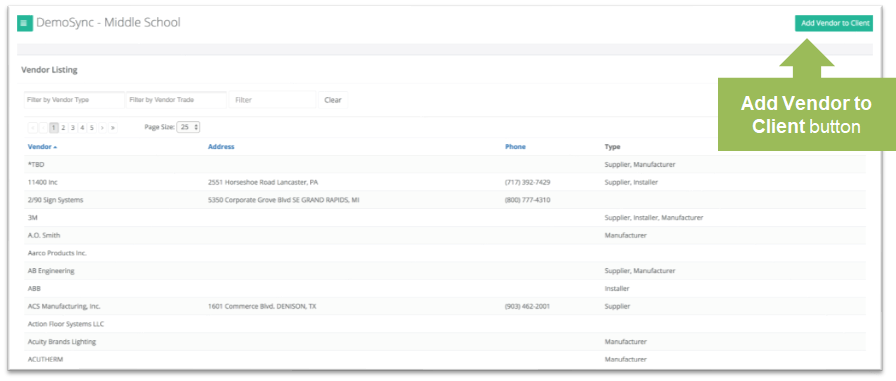
- Click on the 'Add Vendor to Client' button to display the 'Assign an Existing Vendor' page, giving you the option to:
- Review existing vendors in KTrack and assign them to your property AND/OR
- Add a new vendor, if it doesn’t already exist.
- To review existing vendors in KTrack and assign them to your property, select the checkboxes next to all vendors you wish to assign to the property and click 'Assign'. You can search for vendors in the search bar and filter vendors by trade or type.
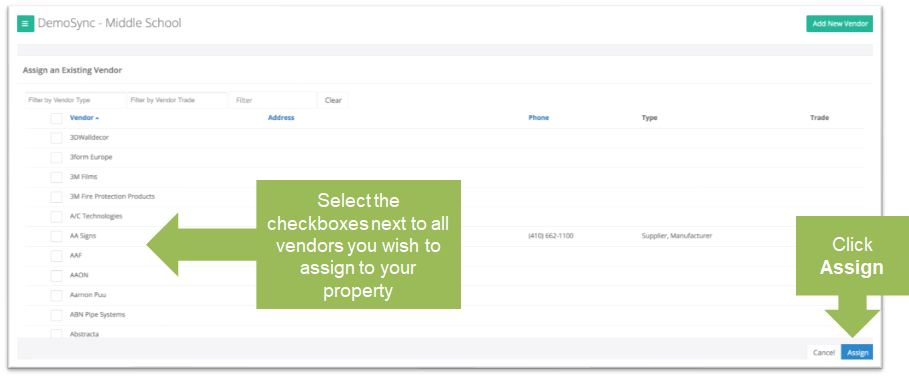
- To add a new vendor to the system, click the 'Add New Vendor' button to display the 'Add Vendor' form.
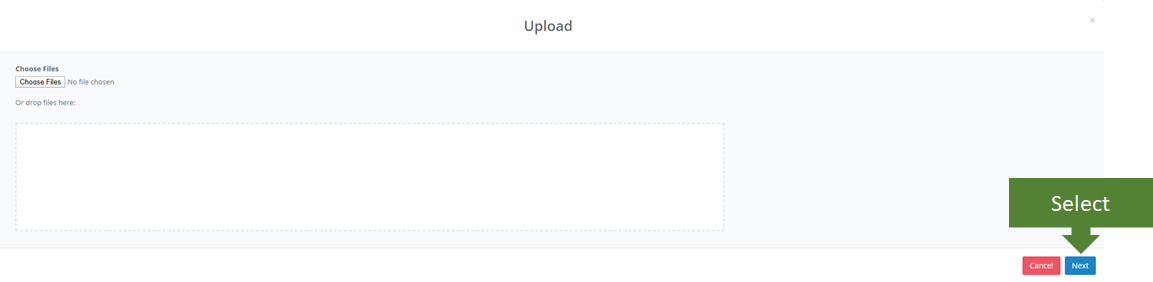
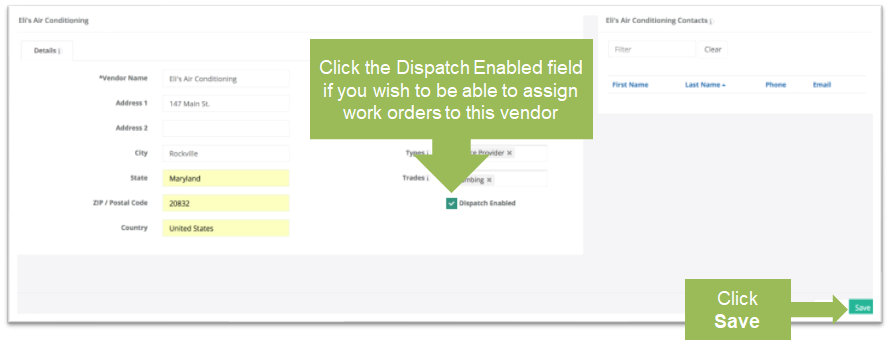
- Fill out vendor detail information and select a vendor type from the drop down.
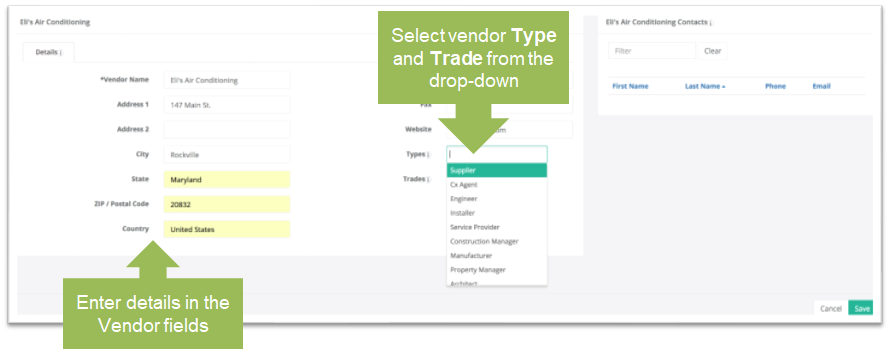
- If you wish to assign work orders to the vendor, click 'Dispatch Enabled' checkbox. Click 'Save' to complete the process.