Objective: To add a new warranty to the vendor.
Things to Consider:
- User Permissions
Steps:
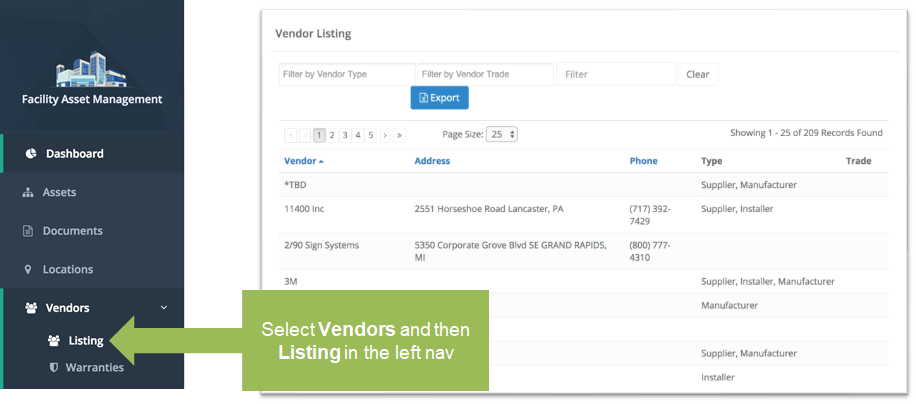
- Click 'Vendors' and then 'Listing' from the left navigation panel to display a list of vendors.
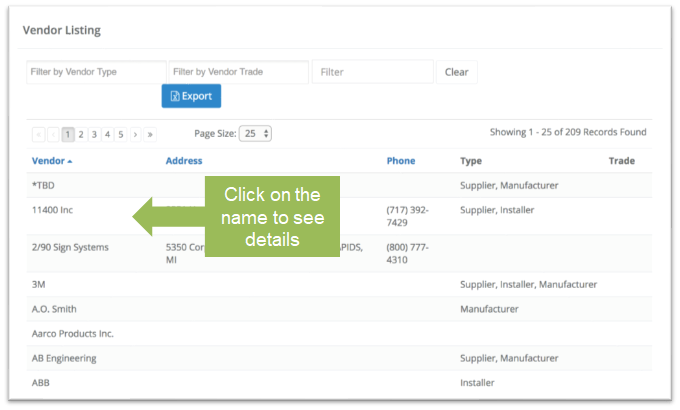
- Click on the name of the vendor that you wish to view in more detail.
- Click on the 'Warranties' tab and then click 'Add Warranty' to display the 'Warranty Details' form.
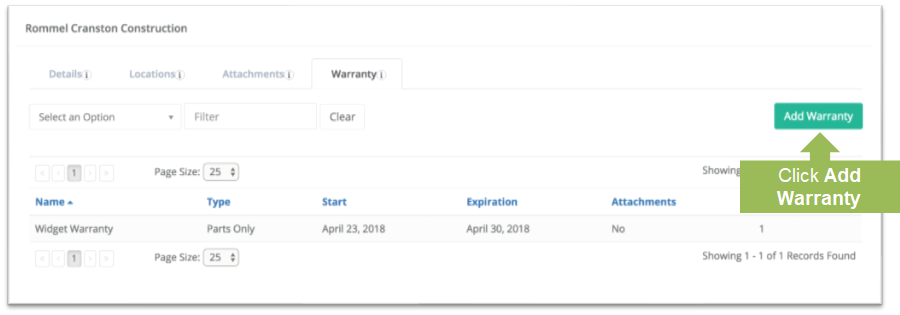
- Enter the warranty details and then click 'Save'.

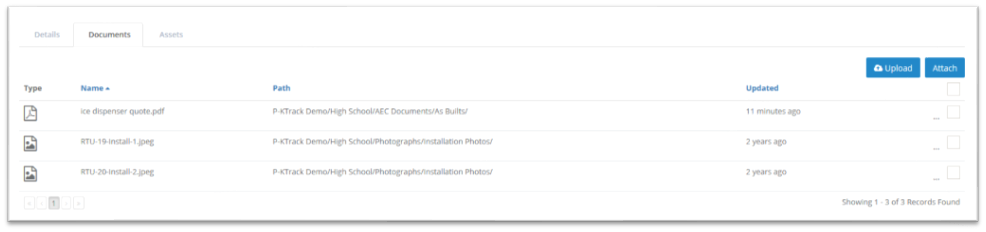
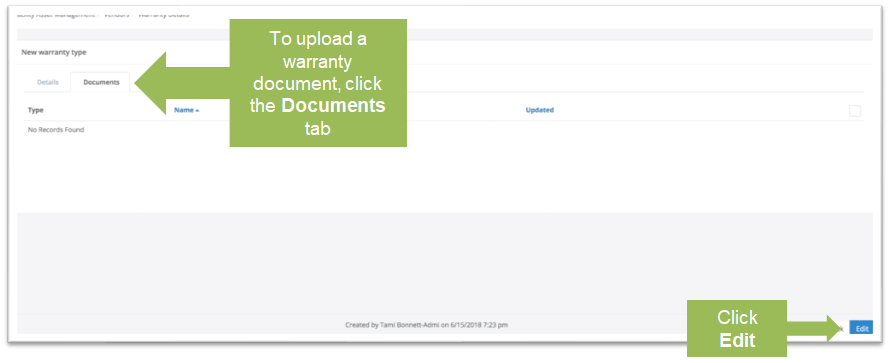
- To upload a warranty document, click the 'Documents' tab and click the 'Edit' button.
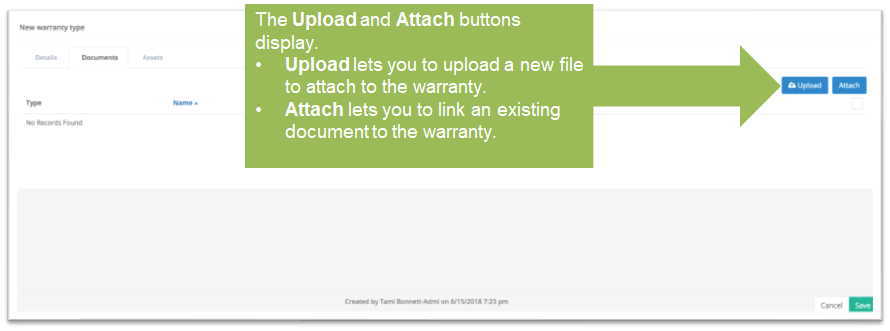
- Click the 'Upload' button to upload a new file from your device to attach to the warranty. Click the 'Attach' button to link a file that already exists in KTrack to a warranty.
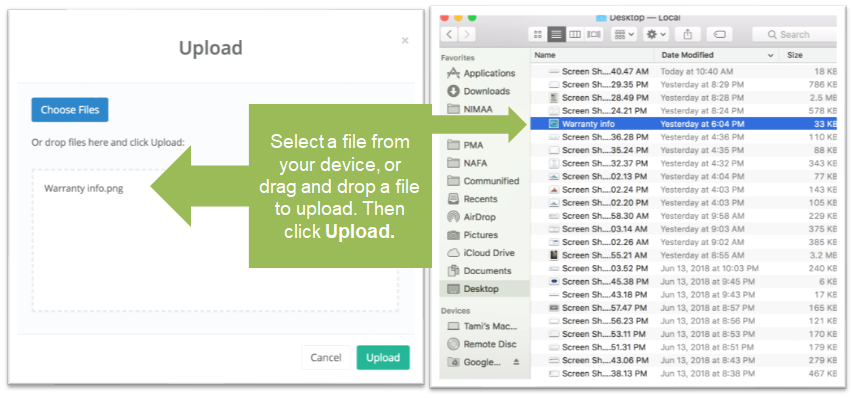
- To Upload, click the 'Upload' button. From the 'Upload' modal, choose a file from your network or device OR drag and drop a file to upload. Click the 'Upload' button to complete the process.
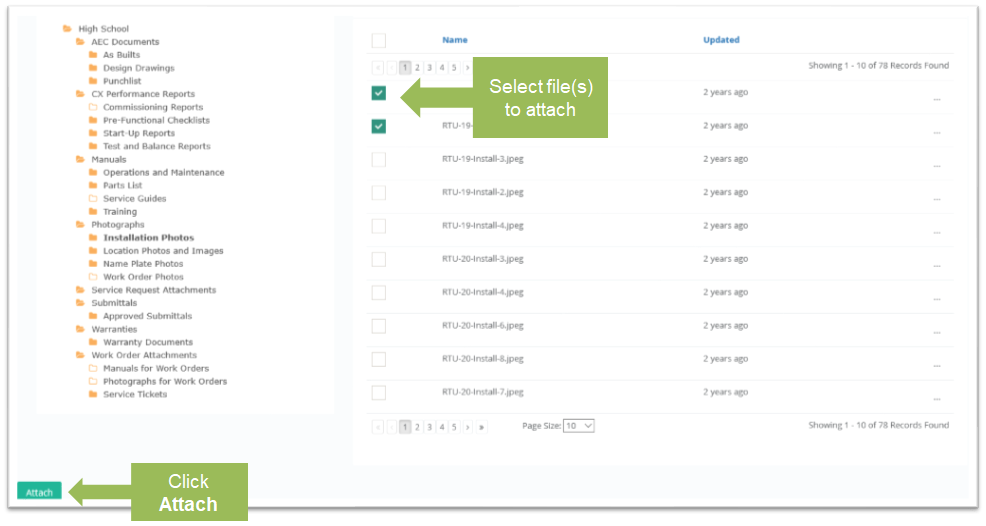
- To attach, click the 'Attach' button. From the 'Attach' modal, select the file(s) that you wish to attach to the warranty and then click 'Attach'.
- To Upload, click the 'Upload' button. From the 'Upload' modal, choose a file from your network or device OR drag and drop a file to upload. Click the 'Upload' button to complete the process.
- Newly uploaded/attached documents will display on the 'Documents' tab. Click on the file to view its details.