Objective: To Delete an asset from the Project
Permissions:
Full or Delete - FM Handover \ Facilities Management Handover \ Asset Management \ Asset Details
Things To Consider:
- When deleting an asset from project it is important to know that this will remove the asset from the project but not from the property.
- Common scenarios to use this transaction are:
- An asset was assigned to the project when it should not have been.
- The asset does not belong on the project but is an existing asset at the property / facility related to the project.
Steps:
There are two ways to delete and asset from the project:-
- Using the Edit View within the Asset Details page
- Using the Bulk Update process
Using the Edit View:
Using the Bulk Update Process:
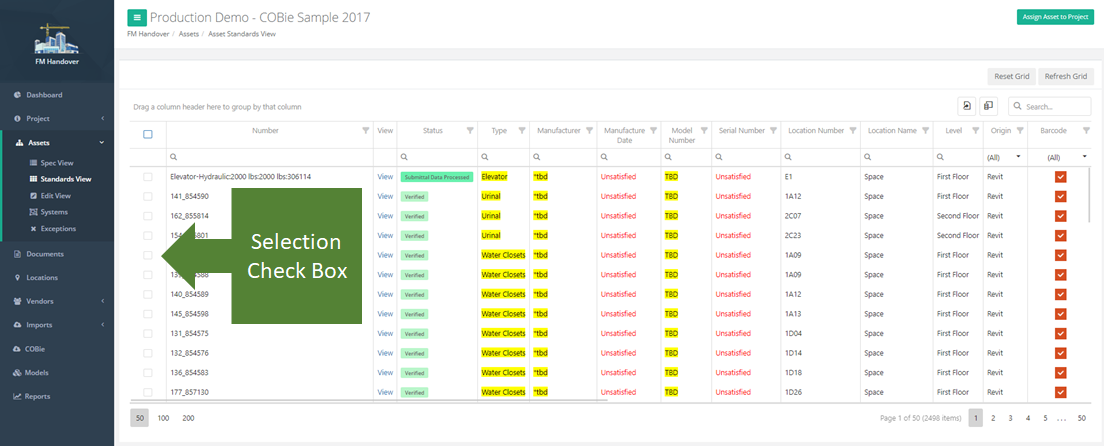
- Navigate to one of the following Project Asset Views: Standards View, Edit View
- Use the selection check box in the left column to select the assets you want to remove from the project
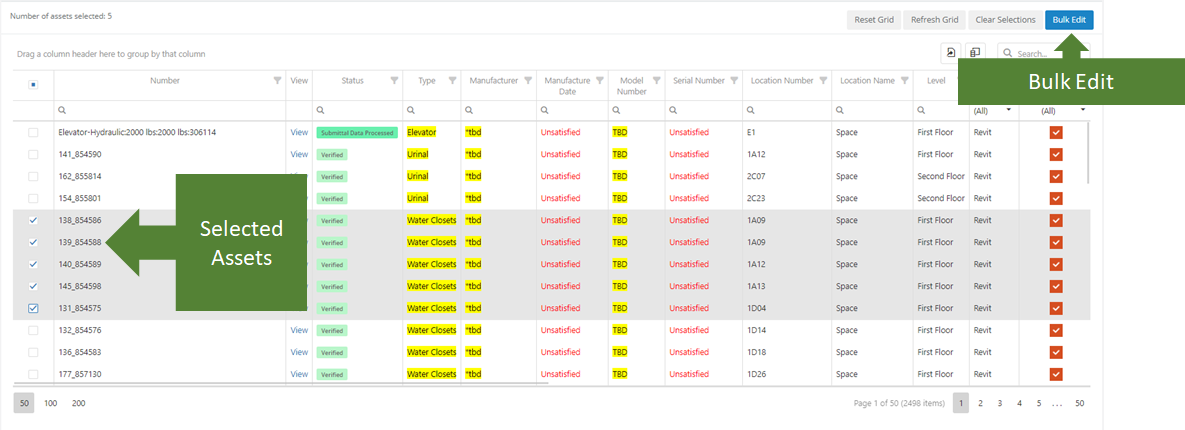
- Once you have selected at least one asset the Bulk Edit Button is enabled. Select the bulk edit button to continue the process
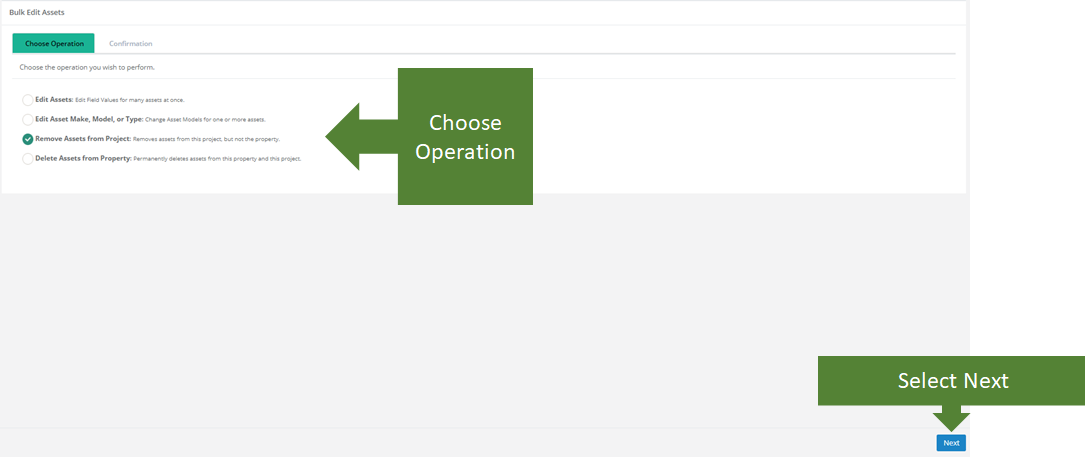
- Once you enter the Bulk Edit process the first step is to choose an operation. Your options are:
- Edit Assets - Select this option to edit one or more field values for the selected assets.
- Edit Asset Make, Model, or Type - Select this option to change the make, model or asset type of the selected assets.
- Remove Assets from Project - Select this option to remove the selected asset(s) from the project. (Note: This will not remove the assets from the property)
- Delete Assets from Property - Select this option to remove the select asset(s) from the project and the property.
- Select Remove Assets from Project. After selecting the Remove Assets from Project option select the Next button to continue to the Confirmation step.
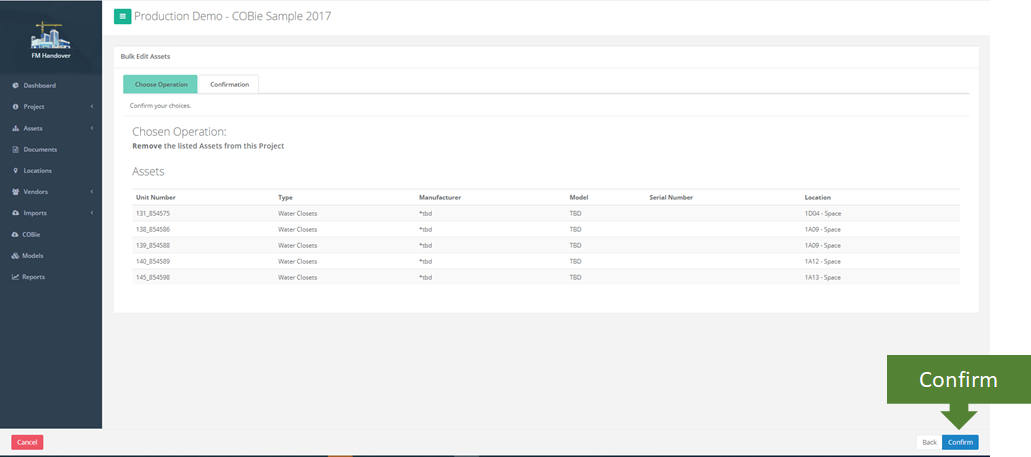
- From the Confirmation step review the Operation and the selected assets to be removed from the project.
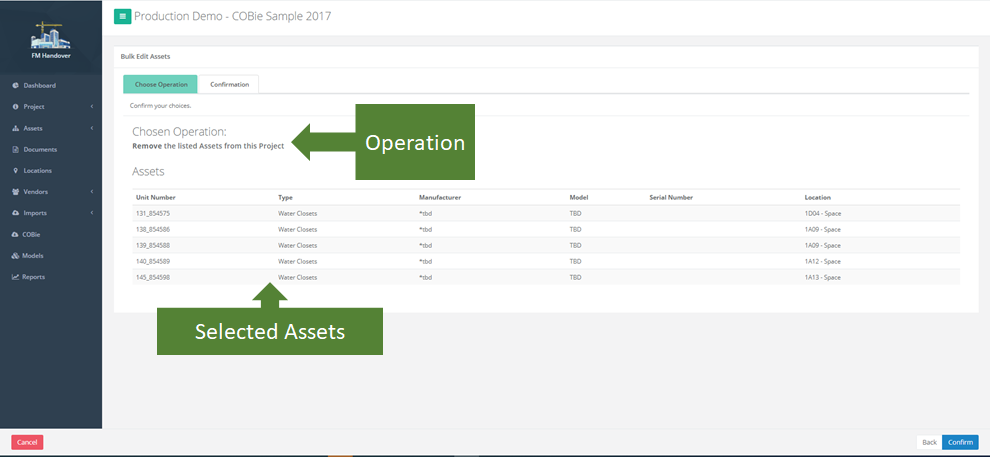
- Once you have completed your review of the Operation and confirmed the selected assets select the Confirm button to complete the transaction.
- After selecting confirm you will be prompted to confirm the transaction. Select yes to complete the process of remove the selected assets from the project. Select Cancel to cancel the process and return the to Confirmation Page.

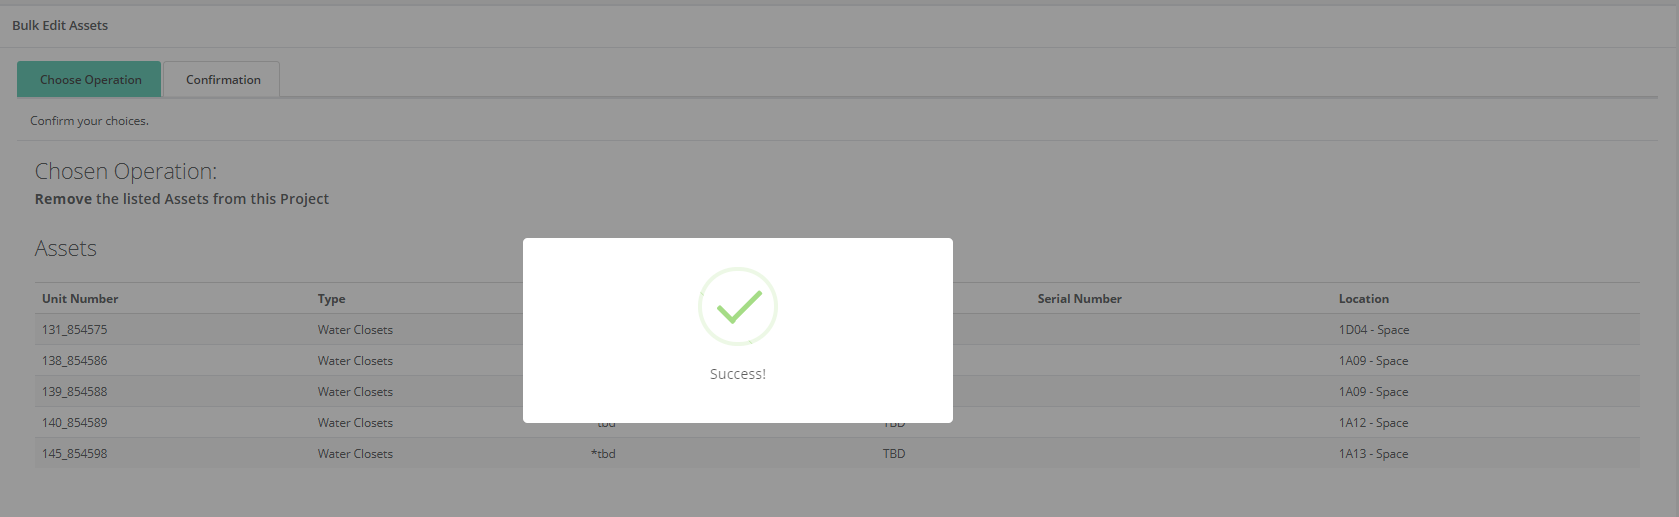
- A confirmation appears once the assets have been successfully removed from the project.
Assets that are removed from the project can always be added back to the project via the Assign Assets to Project process.
Assets are associated with a property then the property and some or all of it's assets are associated with a project. Therefore, it is possible to have assets on related to the property that are not associated with a project.
Example: Renovation Project - The project scope is to renovate floors 1- 4 out of 8 floors of a facility. The assets associated with floors 5-8 will be associated to the property but not the project.